
Babylist Registry Hacks
15 expert tips and tricks to help you make the most of your Babylist registry.

By

You’ve heard of life hacks. Now, meet Babylist registry hacks: under-the-radar need-to-knows to help you get the most out of your baby registry.
Looking for a way to let friends and family know which items you really want from your Babylist registry? There’s a hack for that. Wish you could figure out how to keep your registry a bit more organized? There’s a hack for that. Want to learn how to add items to your Babylist registry with just one click? You guessed it—we’ve got a hack. And if you want to know how to use your Babylist registry to save even more money during sales events like Black Friday, Prime Day and Nordstrom Anniversary Sale, we've got you covered there too.
Here are 15 Babylist registry hacks that you may not know—–but should.
1. The Babylist button: your new favorite pastime.
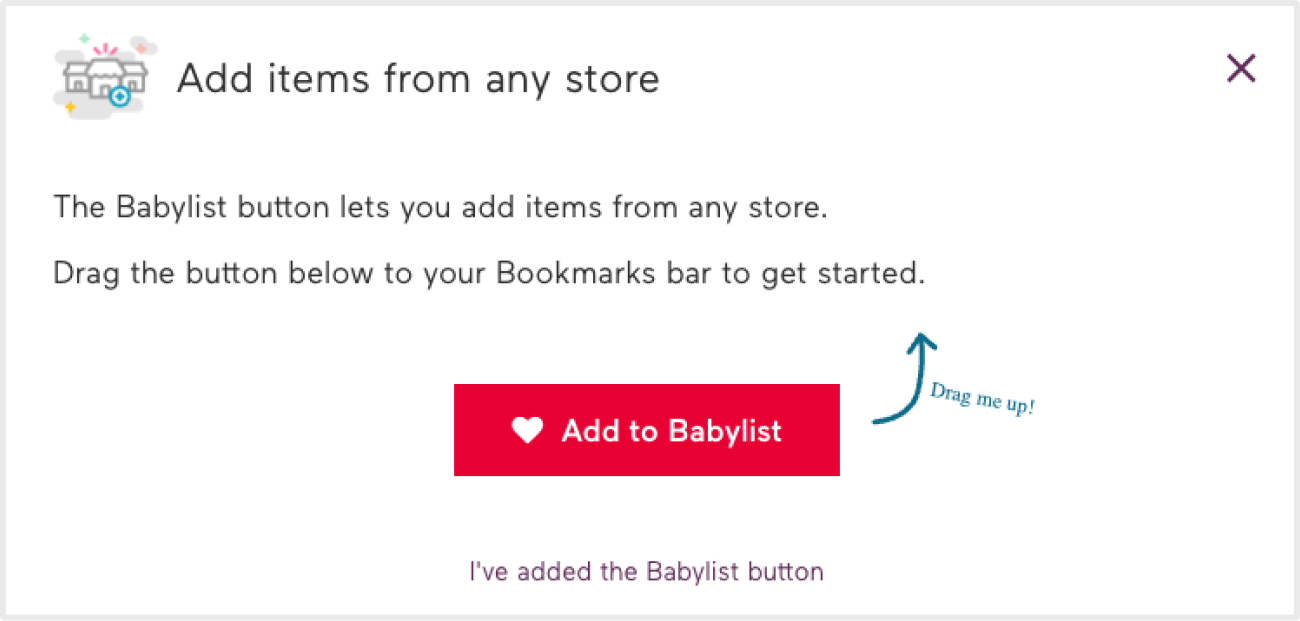
One of the most awesome things about Babylist is that it’s a universal registry meaning you can add any item from any store onto one, easy-to-shop registry. But did you know there’s a custom button to make adding all the stuff you want even easier?
The next best thing to a barcode scanner (because how fun are those?), the Babylist button lets you add items to your registry right from the bookmarks bar on your computer. It takes about ten seconds to install and is available for Chrome, Firefox, Safari and Internet Explorer. (If you’re using the Babylist app on your phone, you can enable the Babylist button on your mobile browser, too.) And it’s super easy and fun to use. Now get clicking!
2. There’s an app for that.
You don’t need to download the Babylist app on your phone to create or manage your Babylist registry—but you should. Available for iOS and Android, the Babylist app is easy to navigate and provides the same access to your Babylist registry and the Babylist Shop on your phone as you’ll find if you’re using your computer.
Chilling on the couch watching Netflix? Add a few pacifiers or the stroller you finally decided on to your registry with a few quick taps. Time on your hands while you commute? Read up on all things car seats, just one of our many helpful product guides. . The Babylist app gives you all the features you need right at your fingertips.
3. Add a registry greeting.
For most gift-givers who are shopping off a registry, having the most information possible about what types of things the recipient likes and wants can make the shopping experience a lot easier. And on the flip side, as the person receiving the gifts, it’s helpful to be able to provide some context around certain registry choices and requests. Which is exactly where the registry greeting comes in.
Prefer gender-neutral clothing and wooden toys? Open to hand-me-downs and used books? Or simply want a spot to say thank you to everyone dropping by your baby registry? Create a registry greeting——just click on your settings and scroll down to “Registry Greeting” to write a note to your friends and family.

4. Stay organized by creating categories.
If you’re the type of person who loves a well-organized list, you’ll want to know about this registry hack. To keep similar groupings of items together on your registry, create categories. You can choose from a long list of preset options, including categories like baby gear, transportation, clothing and accessories, bath time, toys and books, or create your own, like your must-have registry items. Slotting items under their respective category keeps your baby registry organized for both you and your gift-givers.
To access categories, go to your “View Registry” page and click on the pencil button on the far left side of the page. (If you’re using the Babylist app, select “Registry" at the bottom of the screen. Once on your registry page, you'll see an icon with three lines and an arrow, then just drag and drop items from there.)
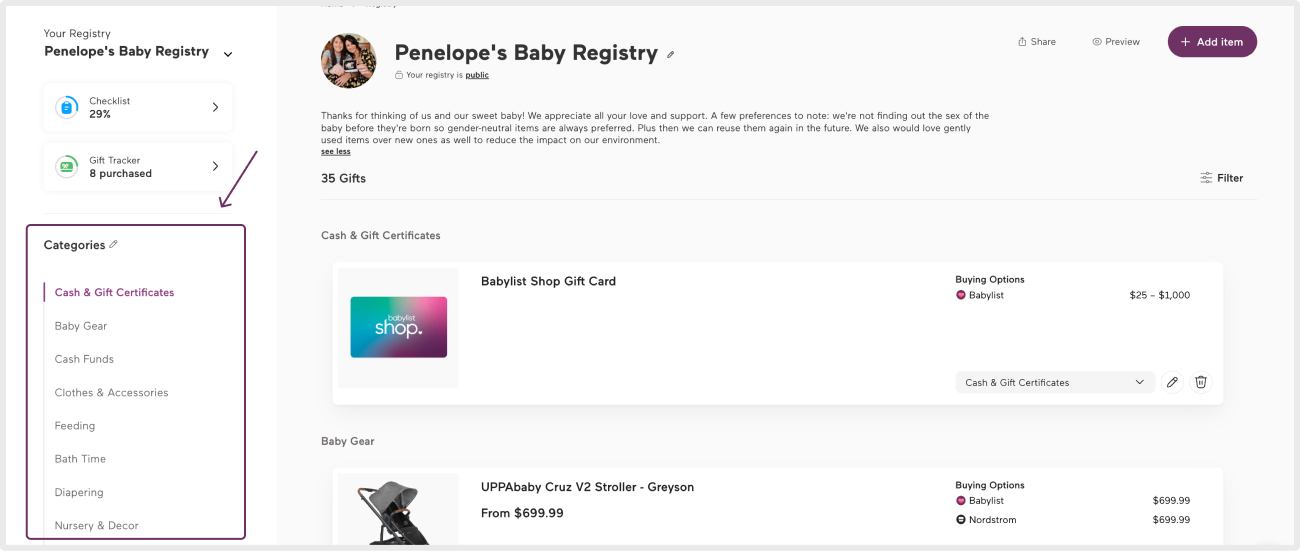
You can drag and drop items within a category and use the drop-down menu beside each registry item to move it to a new category. You can also mark any category as private, remove categories altogether and rearrange entire categories by clicking on the up and down arrows to the right of each category header. Just remember to click “Done Organizing” when you’re finished to save your changes.
5. Use Most Wanted to tell people what you really want.
You’d be thrilled to get any gift from your Babylist registry, but are there a few you’d be really ecstatic to get? Give your friends and family the heads-up on priority items (in the politest of way, of course) with the “Most Wanted” feature. Once you've added an item to your registry, click the pencil icon to edit item details, then toggle on the Most Wanted feature and hit save. This will let your gift-givers know it’s at the top of your list.
6. Imitation is the highest form of flattery.
Lots of registry-building tips happen by word of mouth from one expecting parent to the next. If your friend can’t stop raving about a certain baby product, you’ll likely love it, too, so you’ll add it to your baby registry. Some friends even pass around spreadsheets or lists with baby registry favorites. But did you know you can copy someone else’s Babylist registry? You can also move your old registry items to a new list. Here’s how.
7. Ask for big-ticket items with Group Gifts.
And speaking of friends and family, this registry hack lets you harness their gift-giving power and can be used on any Babylist Shop item on your Babylist registry, but especially the higher-priced ones. It’s called Group Gifting.
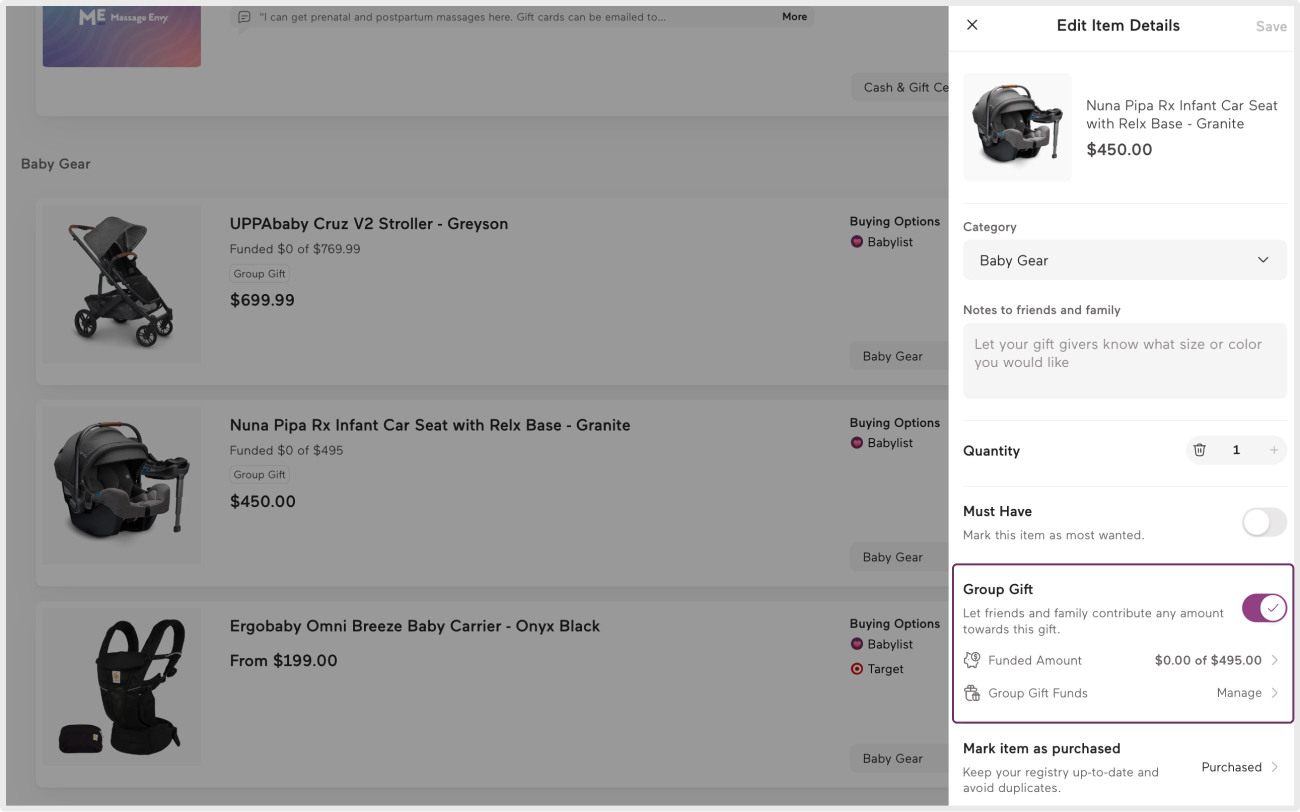
Group Gifting allows multiple guests to contribute toward the cost of one Babylist Shop item. Gift-givers can contribute any amount they’d like and every contribution is given in the form of a Babylist gift card. You can even customize the amount of your Group Gift funds to whatever amount you’d like. (We recommend the regular price of the item + 10% for estimated tax—find out why.)
Group gifts are simple to earmark. From your registry page, fine the item in and click on the little pencil, to open the "Edit Item Details" tab. Scroll down and enable "Group Gift". You'll be able to set the goal to the actual product price or set a goal that factors in tax.
To learn more about Group Gifting, check out how to use Group Gift funds, what to do if your item goes out of stock and how gift-givers contribute.
8. Want cash? Here’s how to ask nicely.
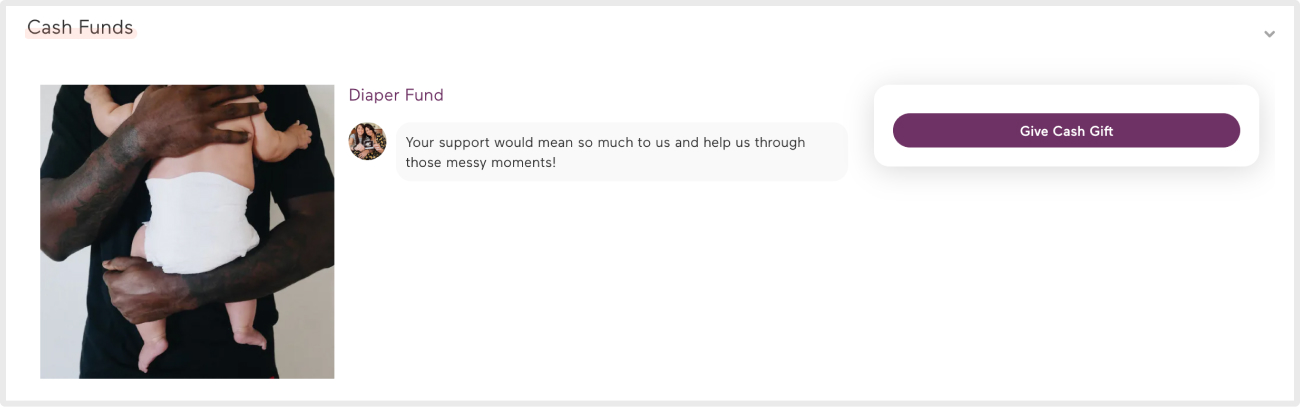
Sometimes there’s just nothing like cold, hard cash. Babylist cash funds link up your PayPal account to your baby registry and let you add anything custom, complicated or not available for purchase online. Donations come straight to you and you can apply them to the expense of your choice. You can use any of Babylist’s preset cash fund categories (diaper fund, meal fund, parental leave fund, college fund and lots more) or create your own (think things like a doula or a custom item from a local store).
Pro tip: gift-givers love to feel like they’re giving you something special, so the more details you add to your cash fund note, the better.
For all things cash funds, like a step-by-step guide to adding a cash fund to your registry, information on how funds are transferred to your bank account and more, head over to the cash fund FAQ.
9. Let others help by adding a registry collaborator.
Everyone can use a little help. (Especially when you’re prepping for parenthood.) Not only can you invite a partner to help you build your Babylist registry, but you can also add a registry collaborator. Collaborators can add, edit and delete items from your registry. Just head on over to the Registry Collaborators section under your Settings and enter their name and email address to get started.
10. Import or link registries from other stores with just a few clicks.
You’ve started a baby registry at another store (it’s okay, we forgive you). But then you realize how awesome a Babylist registry is, and also start one here. Now what? This hack helps you simplify your life by letting you either move over all of your items from your non-Babylist registry to your Babylist registry (called transferring) or add a separate link at the top of your Babylist registry (called linking).
Click the “Add Another Registry” button on the right side of your Babylist Registry page. There you’ll be prompted either to consolidate the two by transferring items from another registry to your Babylist registry or add a separate link to your Babylist registry. Just be sure you’re clear on the difference between linking and transferring another store registry before you choose.

11. The blank coupon has endless possibilities.
You already know about cash funds and group gifts, two hacks to help you get creative with your Babylist registry. Meet the blank coupon: a goldmine of endless possibility.
Don’t want to pick out specific products or clothes? Use a blank coupon to make a generic request. Want a specific type of help after baby arrives? The blank coupon can make it happen. It’s completely customizable, right down to the photo (which makes it more clear and even more enticing for the gift-giver).
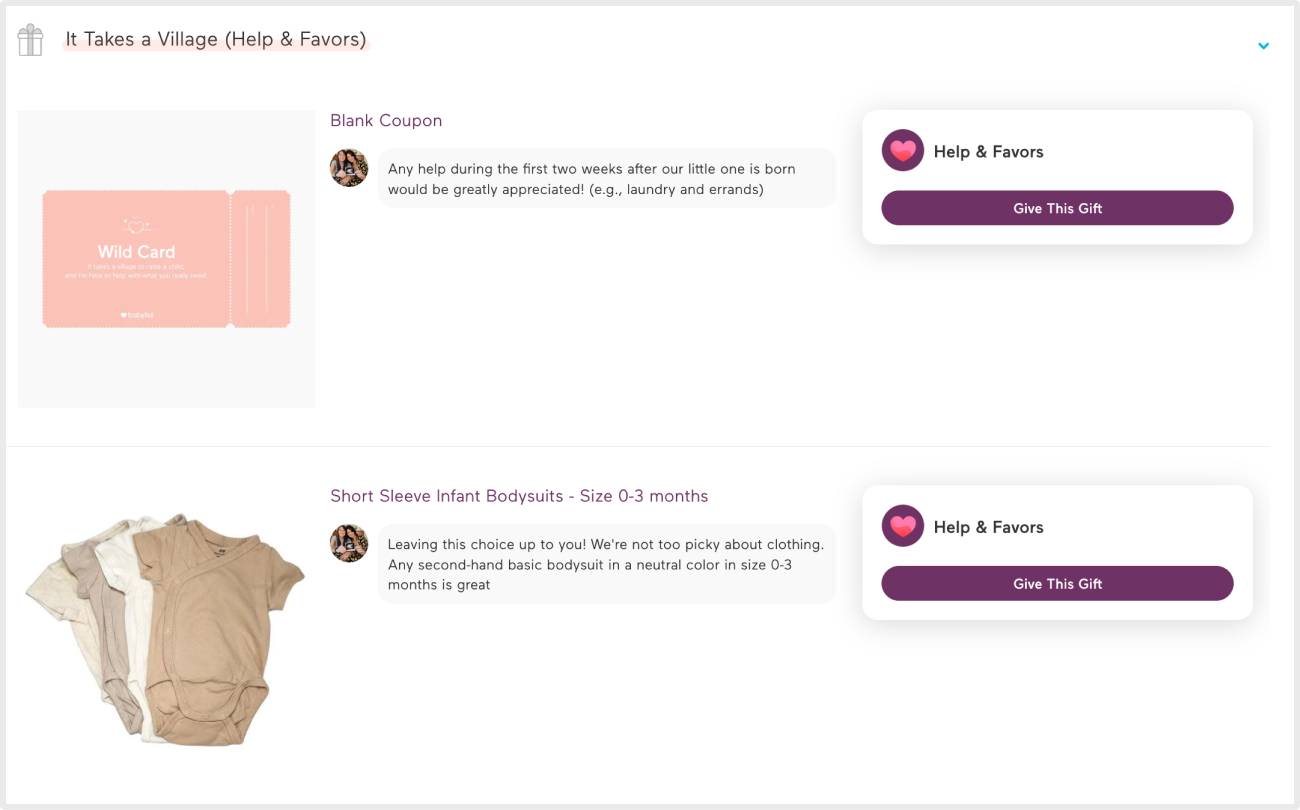
The Babylist blank coupon is located in the Help and Favors section of the Babylist Shop. Learn more about how to add and customize blank coupons and get some ideas on what types of things to add from the Help and Favors Sample Registry.
Pro tip: the more details you leave in the note box, the better. Don’t forget to include things like color and size preferences, how to contact you to sign up for help, etc. And remember, if it can be purchased on the internet, you can add it to your Babylist. Think outside the box (and beyond typical baby stores) and get creative.
12. Get creative with gift cards.
A Babylist gift card can be used to purchase any item sold in the Babylist Shop. But did you know you can also add gift cards from other stores? These types of gift cards are perfect if you know you want a specific service, like a prenatal massage or a meal delivery service, or if you’re planning to spend money at a specific store.
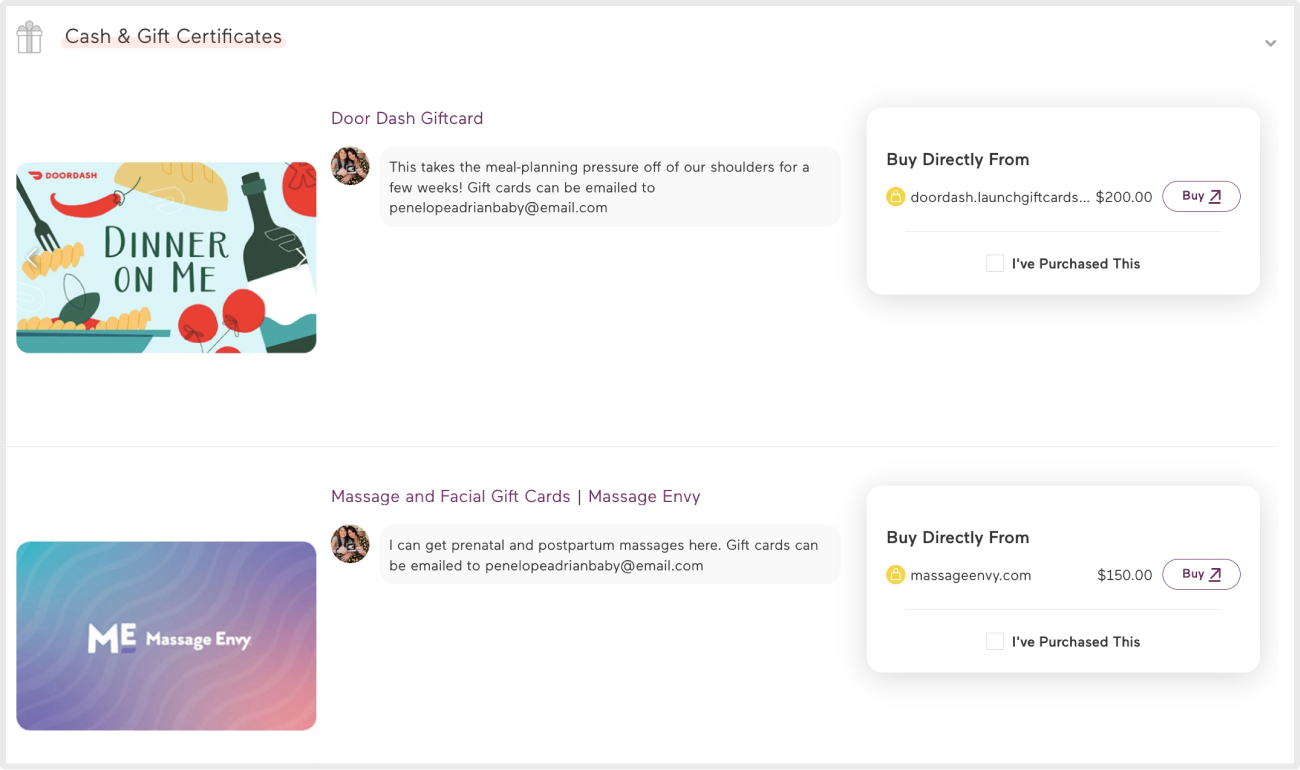
Here are a few other hacks to keep in mind if you’re adding a custom gift card to your Babylist registry:
Find the gift card page on the store you’re interested in and use the “Add to Babylist” button to add it to your registry. You can follow this example.
Use $0 as the price so gift-givers can choose the amount they’re comfortable with.
Set no limit to the quantity.
Add your email address to the note so gift-givers know where to send e-gift cards.
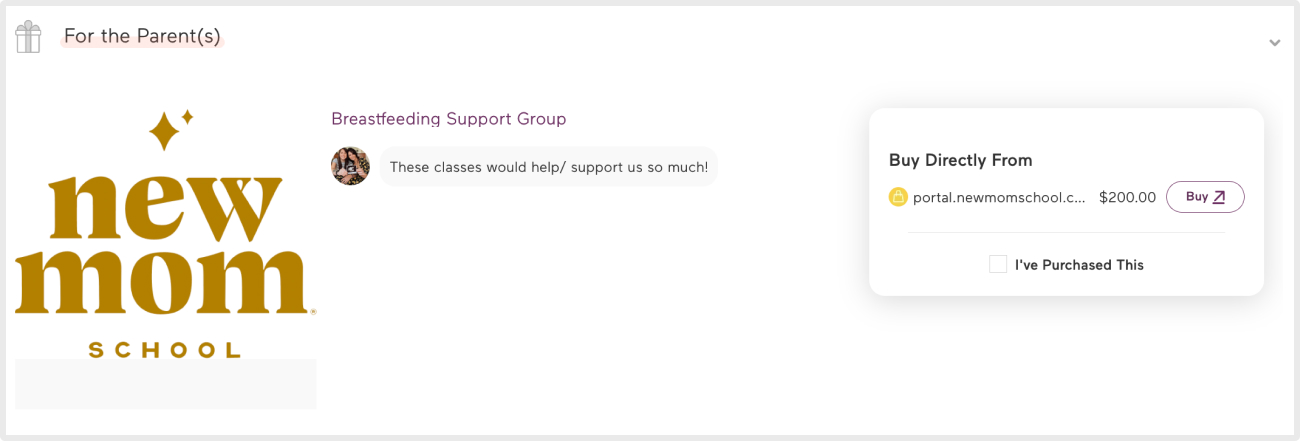
13. Don’t forget to add classes!
Sometimes knowledge is even better than a tangible gift. If you’re a parent-to-be hoping to take any type of class to prepare for the arrival of your baby (think birthing to breastfeeding to infant care and more), you’re in luck. You can add these classes right to your Babylist registry.
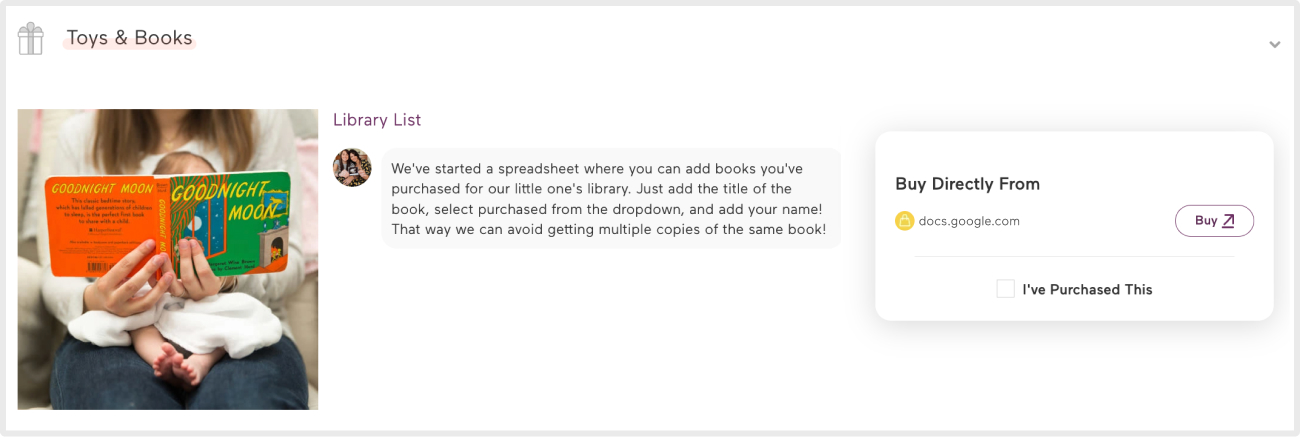
14. Link to a Google spreadsheet to save time (and space).
This registry hack is a fun one if you’re looking to build your baby’s first library and want to save a little time. (It will also help you avoid dupes.) Instead of adding each book to your Babylist registry one by one, make a Google spreadsheet like this one and link gift-givers there. You can add however many titles you like and create a “given by” column where gifters can fill out their information. Just be sure to make the spreadsheet editable by everyone before you share.
15. Go beyond the baby registry.
Turns out Babylist registries aren’t just for babies! Just like you can add anything to a Babylist registry, you can use a Babylist registry for anything, too. Need a holiday wish list to send to the grandparents? Want to include a wishlist registry along with your baby’s first birthday party invitation to inspire gift-givers? Want to create a registry for your second (or third, or fourth) baby? You can create additional Babylist registries with the click of a button.